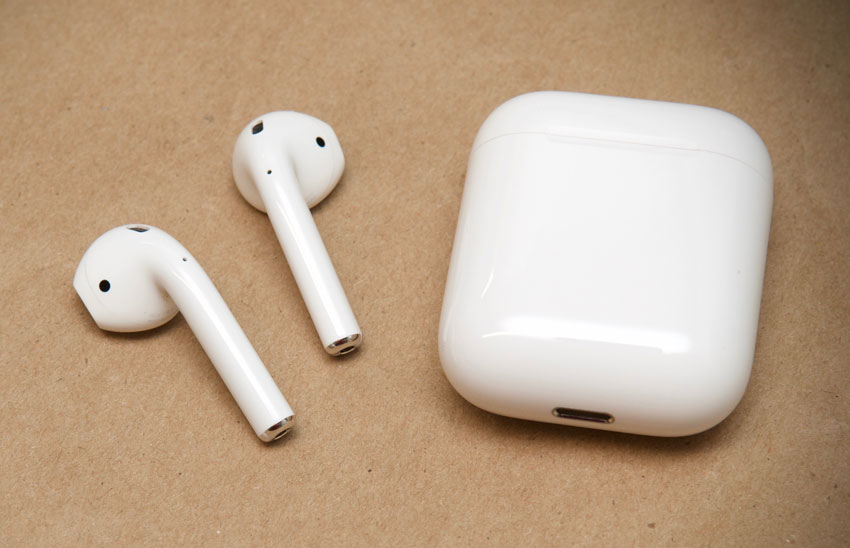
How to Pair Apple AirPods To Windows 10 in Seconds
Apple Airpods is arguably one of the best true wireless earbuds due to the top-notch performance and crystal clear sound. There is a popular myth about the Apple AirPods that it is very hard to use with Windows laptop or desktop. However, that’s not true because it hardly takes a minute to pair your Airpods with Windows operating system running devices.
In this article, we are going to teach you how to use them with a Windows PC with ease. So what’s the wait? Let’s get in!
Setting Up Apple AirPods to Windows
All you have to do is insert the airpods into their case and then keep the cap open. Once that is done, you have to tap and hold the button on the rear of the case. When the LED light starts glowing white, release the key that you are holding. Now your Apple AirPods are ready to connect with your Windows PC.
Follow these instructions to add your AirPods to your Windows computer within seconds:
- On your keyboard, press the Windows + I keys at the same time to open the Settings.
- When the Settings window appears, just go to Devices.
- Then click on Bluetooth & other devices.
- Now you need to find the options saying “Add Bluetooth or other devices.”
- Once you find it, click on it.
- Then hit the Add a device button.
- Choose Apple AirPods from the available list.
- Follow the prompts to pair and connect to your Airpods.
- Voila! You have made it within seconds.
That is how to pair the Standard AirPods to your Windows computer. However, if you are using the AirPods Pro, the process and steps are almost identical. You can use the same method for pairing AirPods Pro to Windows. Gladly we are providing a separate guide for connecting AirPods Pro to Windows as well in this article.
How to Connect Apple AirPods Pro to Windows- Step by Step Tutorial
- Make sure your AirPods Pro is inside the Charging case.
- Now, ensure that the lid of the case is open.
- Once that is done, all you need to do is press and hold the key located on the back of the case.
- When the led status light begins glowing white, release the button you have pressed.
- Now your Apple AirPods Pro is set to pairing mode.
- Next, you need to press the “Windows+I” keys on your keyboard to open Settings on your Windows computer.
- Then, press on Devices.
- Turn on the Bluetooth if it is turned off using the toggle button on the top.
- Now, head to the “Add Bluetooth or other device” option.
- Click the option saying Add a device.
- Choose Bluetooth.
- Hold tight until your AirPods Pro appears there.
- Then click on the name of your AirPods from the list.
- Follow the onscreen prompts to Pair your AirPods Pro to Windows.
- You will see a message “Your device is ready to go” which means you have made it.
From now on, you don’t need to go through this frustrating process to use your AirPods with your Windows 10 laptop or Desktop PC. All you need to do is make sure that Bluetooth is enabled on your computer and your AirPods will connect automatically.
Whenever you plug them in your ears, they will get quickly connected to your Windows computer within 2-3 seconds.


No comments:
Post a Comment